Writing custom validators in Laravel is a common task that most Laravel developers do regularly. When validating request data, triggering the request requires switching between the browser and your IDE a lot. Even when writing the validator in isolation in a scratch file of your IDE, you still need to run the code in your browser or via CLI – a task that requires to switch applications.
Tinkerwell makes this much simpler.
In this example, we create a basic validator function to make sure that the title of a blog post can't be set to "foo".
At first, we create a dummy object which provides the data for the validation and prepare examples with data that pass or fail validation. This could also be a request object or other more complex data – but we keep it easy for now.
// fail
$data = [
  'title' => 'foo'
];

// pass
$data = [
  'title' => 'bar'
];
After that, we create the validator, add standard rules and write the function for our custom validation.
$validator = Validator::make($data, [
    'title' => [
        'required',
        'max:255',
        function ($attribute, $value, $fail) {
            if ($value === 'foo') {
                $fail('The '.$attribute.' is invalid.');
            }
        },
    ],
]);
The function takes three parameters:
- The
$attributeitself that we want to validate - The
$valueof the attribute - A
$failcallback that Laravel calls if the validation fails
In the last step, we call the validator and see if there are any errors.
$validator->errors()->all();
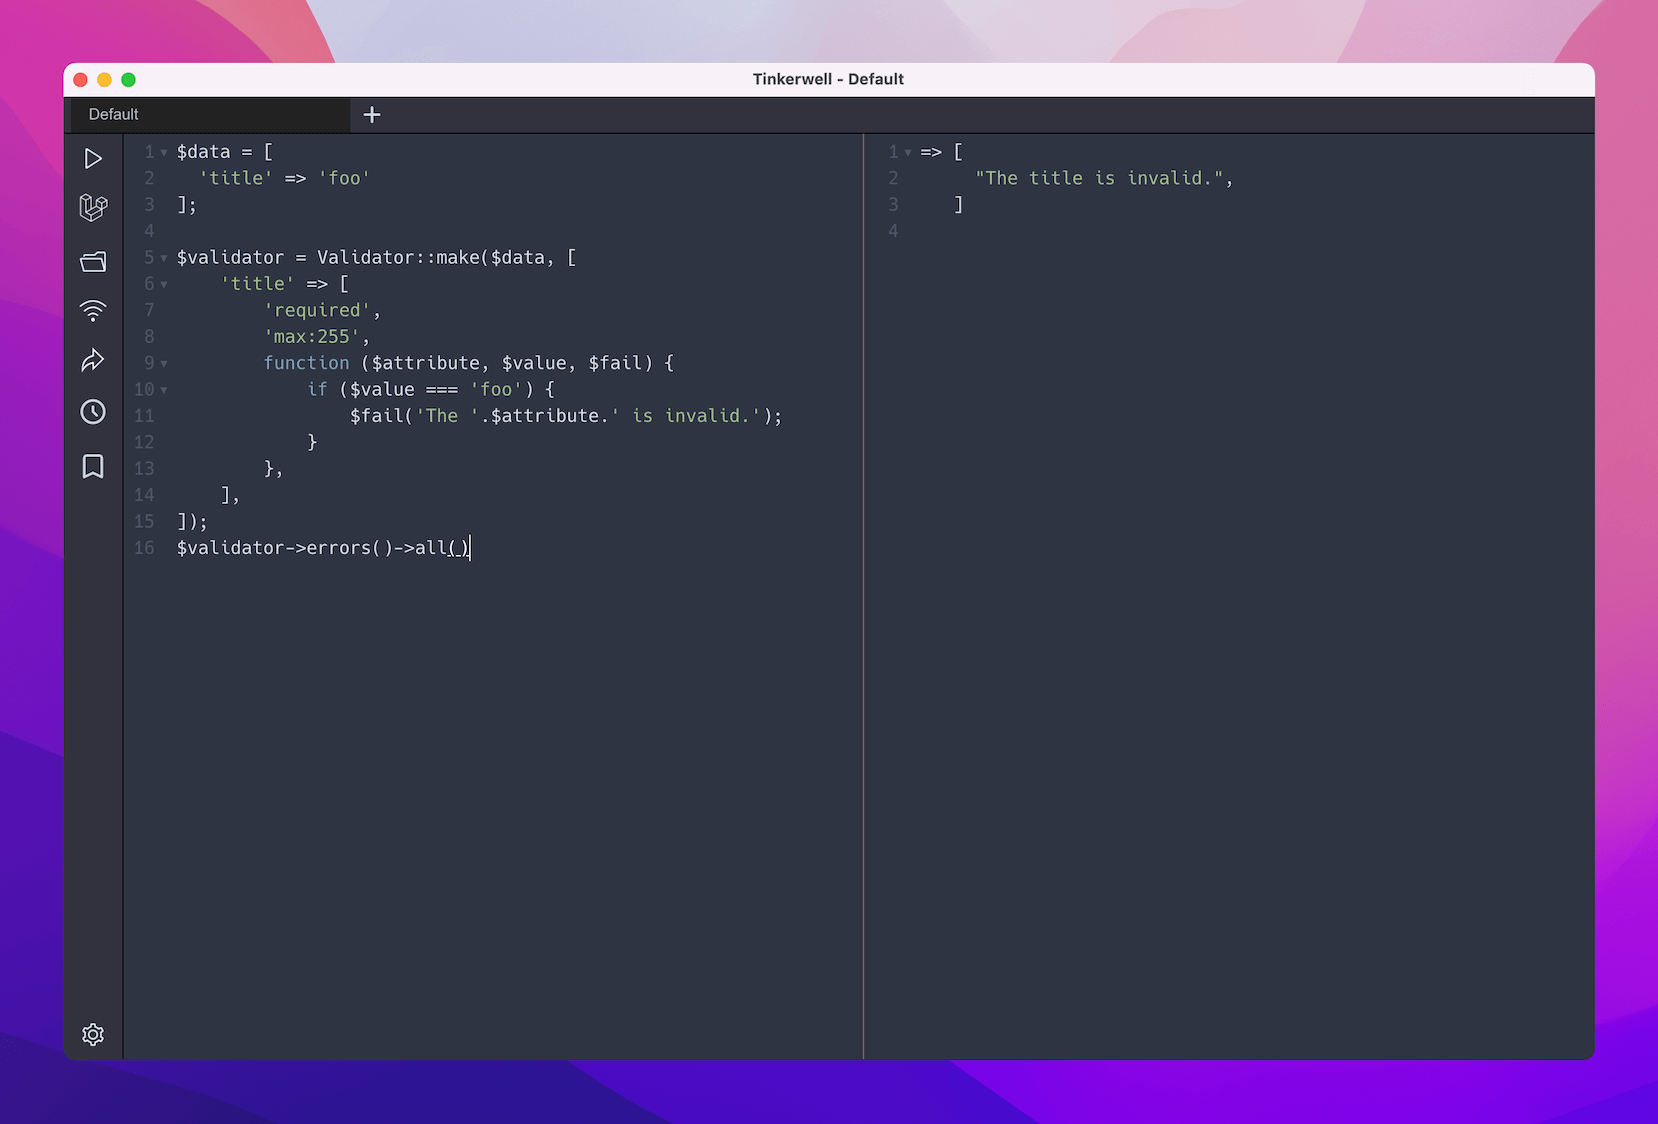
Putting it all together – this is how you write it in Tinkerwell directly.
$data = [
  'title' => 'foo'
];

$validator = Validator::make($data, [
    'title' => [
        'required',
        'max:255',
        function ($attribute, $value, $fail) {
            if ($value === 'foo') {
                $fail('The '.$attribute.' is invalid.');
            }
        },
    ],
]);

$validator->errors()->all();
Output:

We believe that this process of writing and testing custom validators in Tinkerwell is much easier than doing it in your project directly.
