

 Tinkerwell
There are many ways to test emails in Laravel applications. In this tutorial, we are using Tinkerwell to trigger the email and display the content in HELO to see how it looks in modern email clients.
The configuration of HELO is straight forward. Simply set your mailer to SMTP on your local machine and your are ready to go. And if you prefer cloud solutions, then pay attention to Mailtrap Fake SMTP Server - an email testing tool, that is mentioned in the official Laravel documentation. Using a username for the SMTP authentication creates a mailbox in HELO and makes it easy to separate emails between different projects. You can have as many inboxes as you need.
MAIL_MAILER=smtpMAIL_HOST=127.0.0.1MAIL_PORT=2525MAIL_USERNAME=HELO-DemoMAIL_PASSWORD=nullMAIL_ENCRYPTION=nullMAIL_FROM_ADDRESS=support@beyondco.deMAIL_FROM_NAME="${APP_NAME}"Laravel supports Markdown emails and deals with the heavy lifting of HTML email templates. Even in the year 2020, people are still using old email clients and don't have access to modern CSS – so starting with a battle tested email template and going from there is always a good idea.
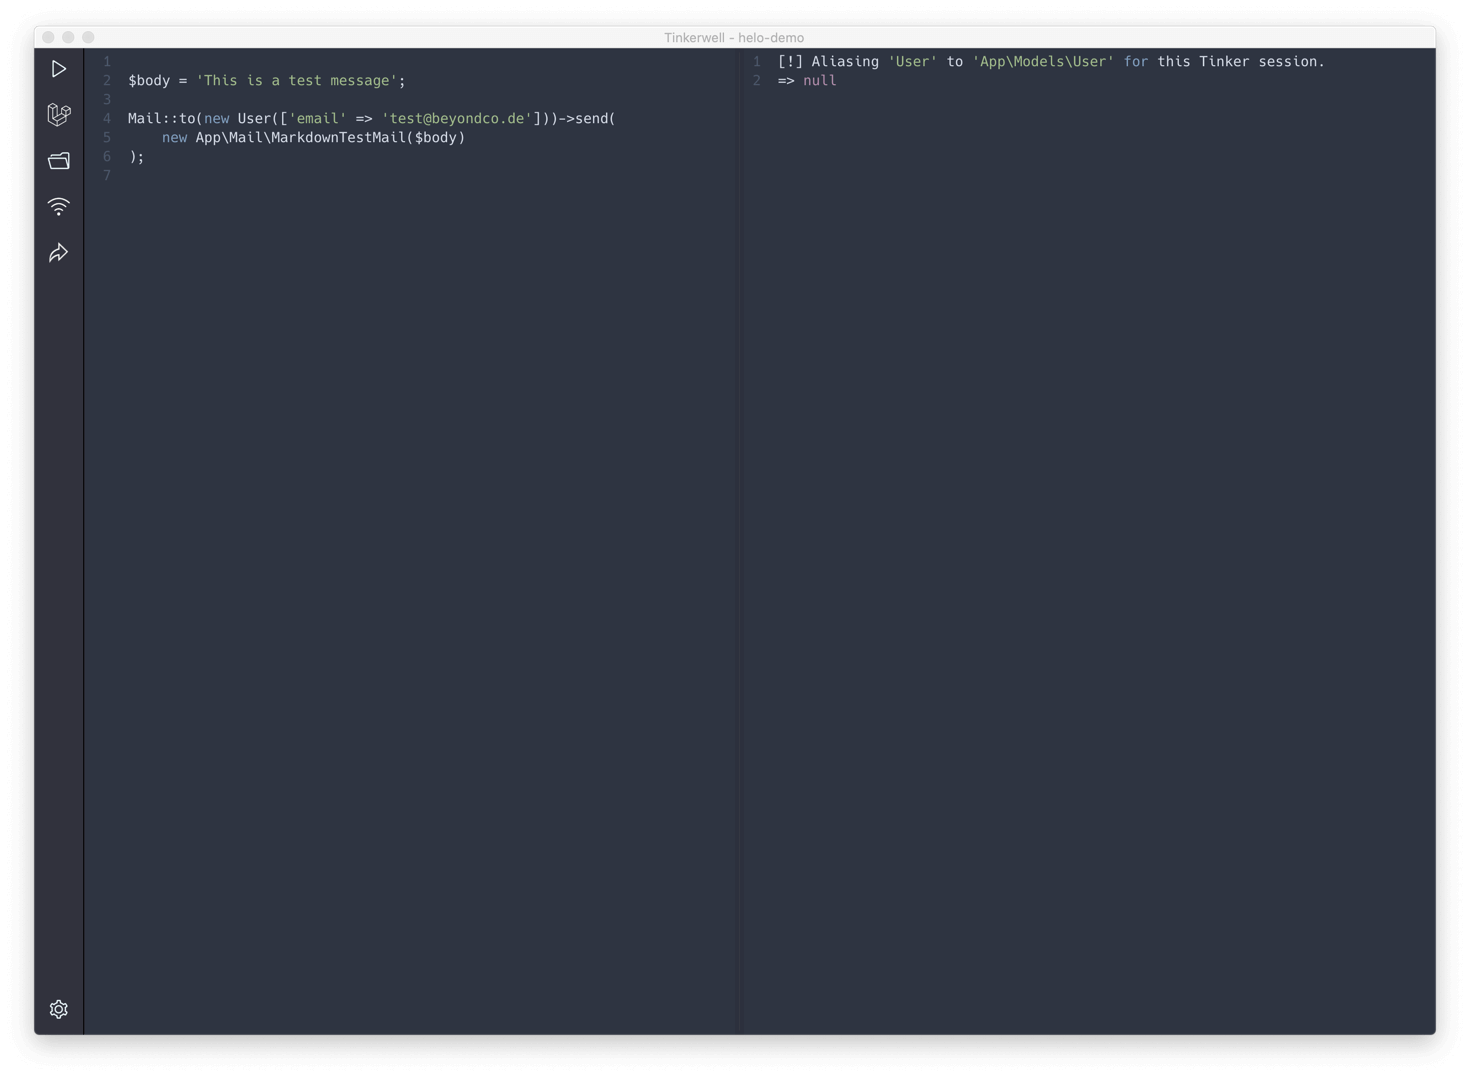
php artisan make:mail MarkdownTestMail --markdown=emails.markdownDispatching emails with Tinkerwell is as easy as it sounds. You don't have to create orders in ecommerce systems or trigger password reset emails over and over again. Simply pull the data from your application and pass it to the Mailable:
$body = 'This is a test message'; new App\Mail\MarkdownTestMail($body));Running this code results in this output:

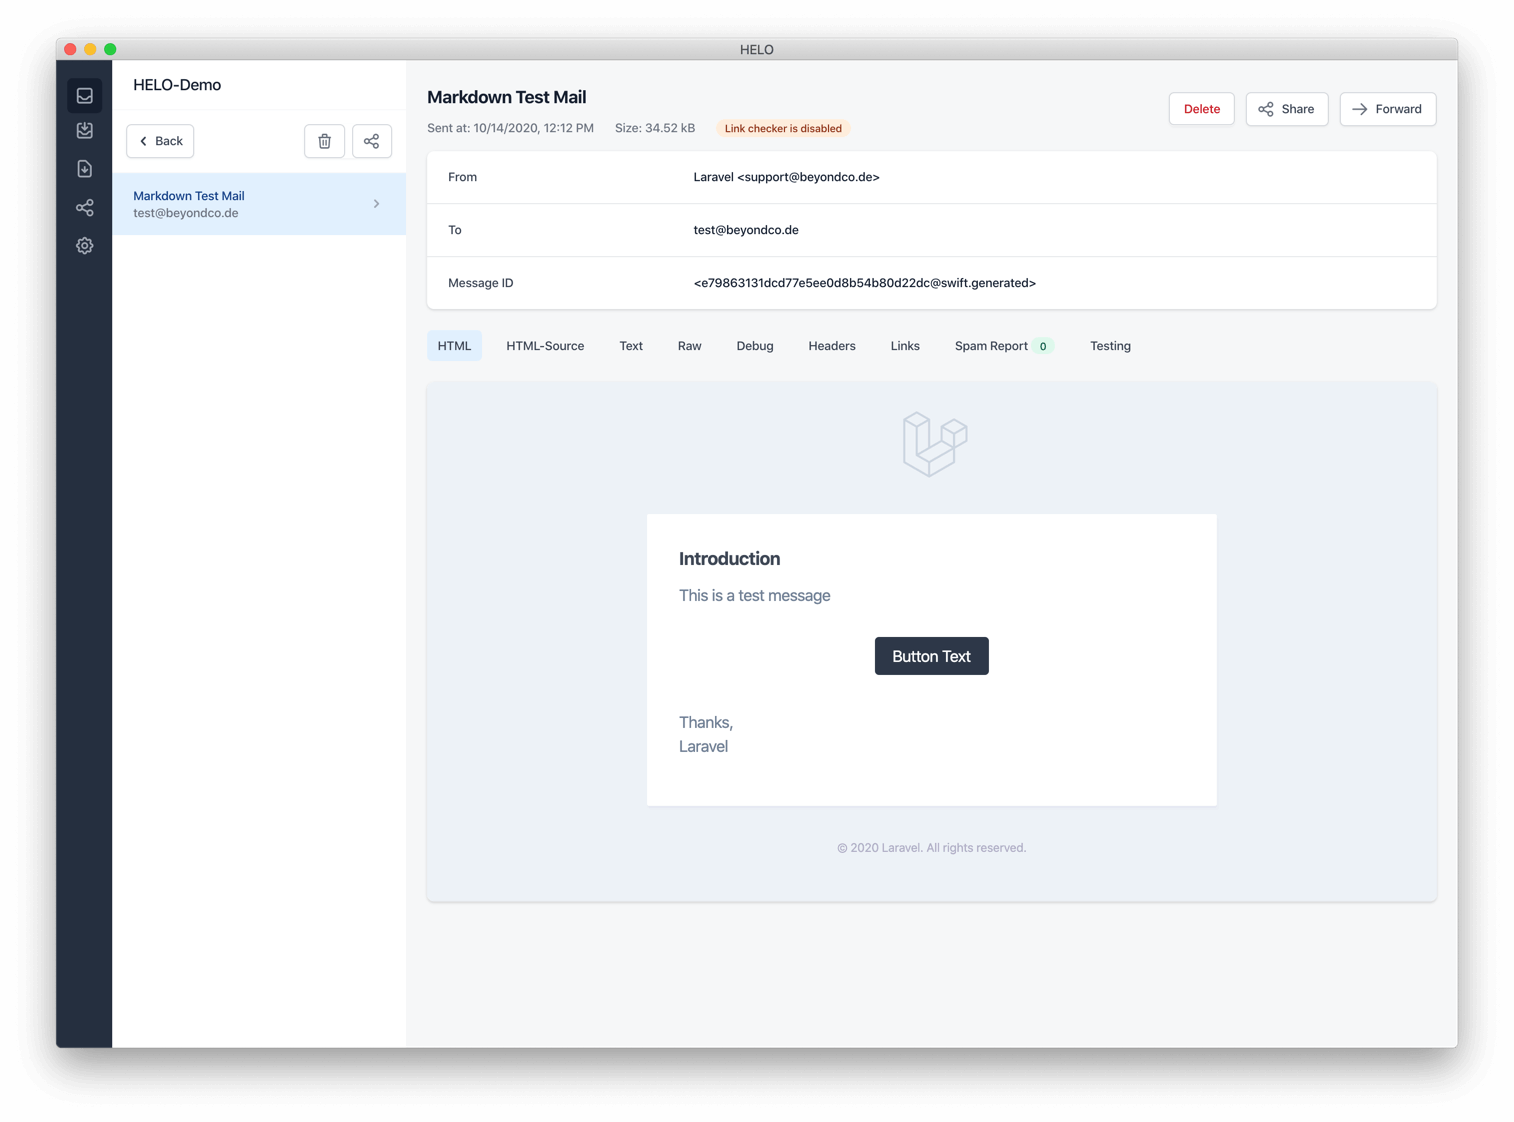
The email shows up in HELO instantly – this is how it looks:

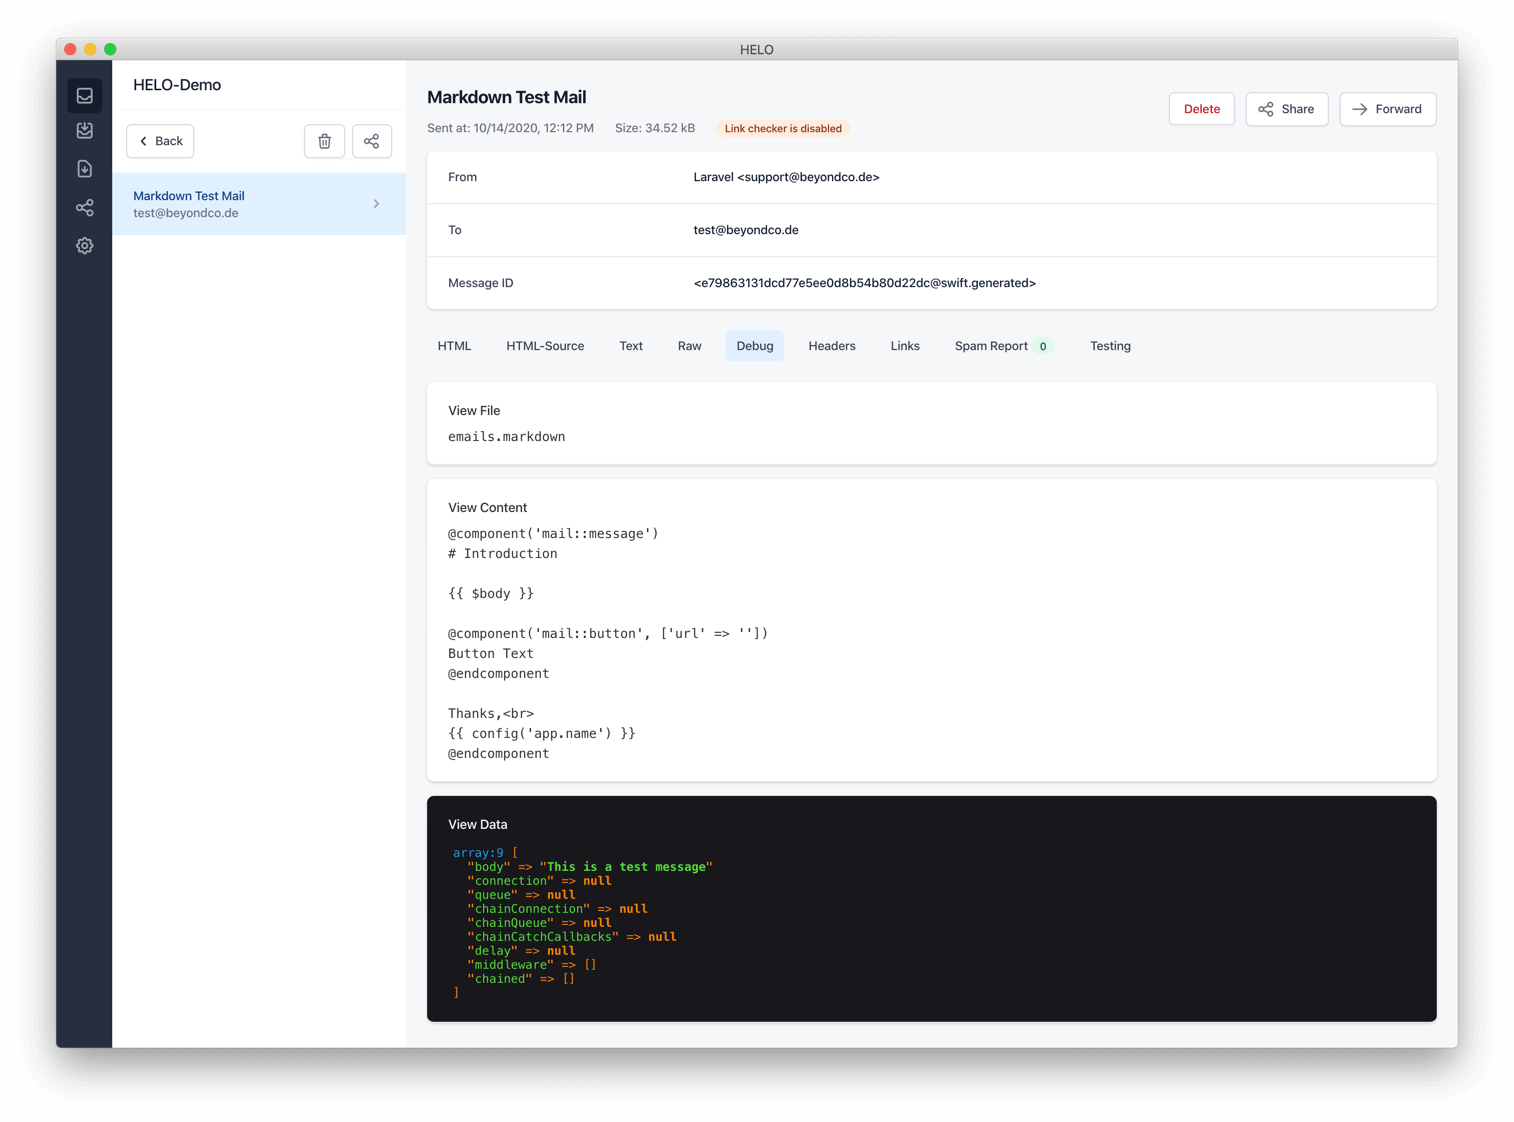
If you are using the HELO helper package, HELO shows additional debug information for the email. In this example, we can see the view file, the view content before the rendering process and the data that is available in the view.


“I’ve pretty much used Tinkerwell every day since it was released.”
Taylor Otwell
Creator of Laravel

“Testing code, writing one-off scripts, or just playing with random logic is far easier with Tinkerwell. Its one of the best purchases I've made in my career.”Luke Hebblethwaite
Developer
The must-have companion to your favorite IDE. Quickly iterate on PHP code within the context of your web application.
Buy now Learn more